

Table of Contents
Footage Gaps
Footage gaps occur when a camera stops providing a video stream and TetherX is forced to reconnect. Even brief gaps can miss critical events - address this issue promptly.
Start Here: Update Camera Firmware
Warning: Outdated firmware is the most common cause of footage gaps. Many cameras have bugs causing memory leaks or stream failures after hours of operation. Always update to the latest firmware first - this resolves the majority of issues.
- Check your camera manufacturer's website for firmware updates, or contact your camera supplier
- Download and install the latest version - you can use Tunnelling to access the camera's web interface
- Reboot the camera and monitor for 24 hours
If gaps persist after updating firmware, continue with the steps below.
Check the Camera Connection
Go to Admin → Cameras, open the camera, and address its yellow or red status. TetherX measures both packet loss and the average ping round-trip time from the TetherBox to the camera.
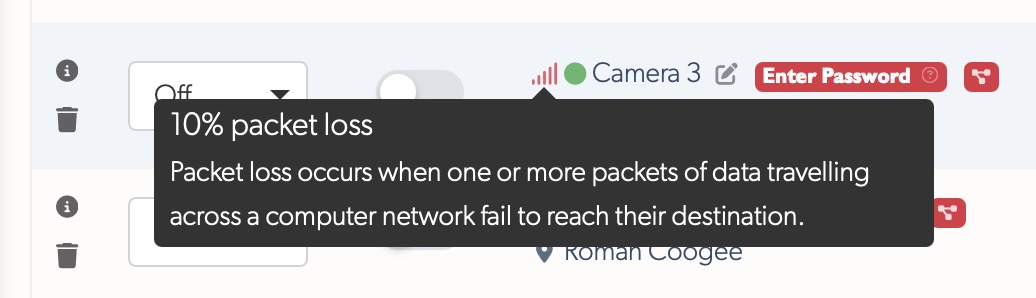
The latency value appears once it is above 5ms:
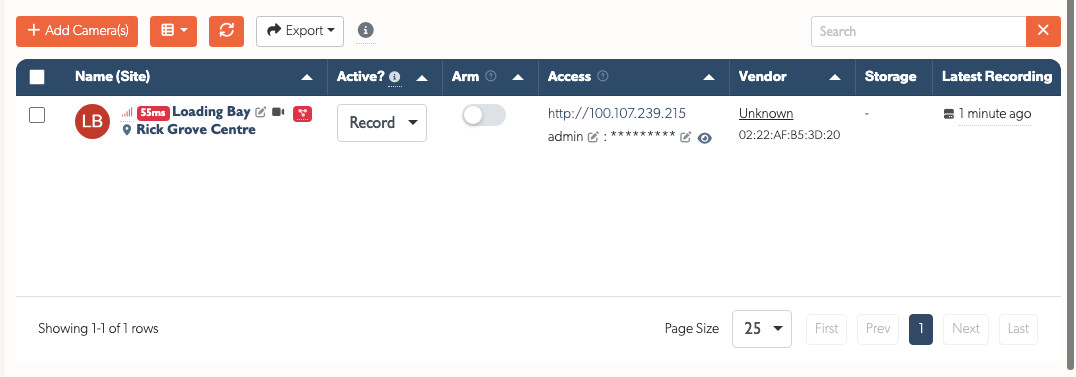
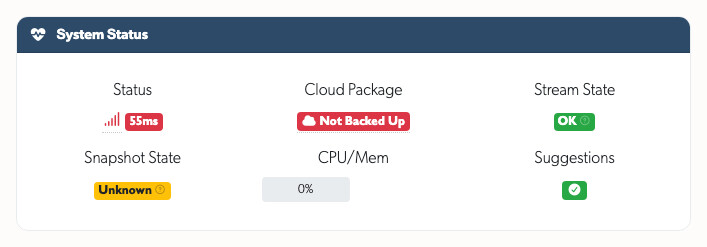
Packet loss means packets are missing. Even 1-2% can disrupt video. Latency means packets are arriving too slowly. A camera can have no packet loss but still respond slowly enough to make live video or camera control unreliable.
For a camera on the local network, use latency as a guide:
| Latency | Meaning | Action |
|---|---|---|
| 0-5ms | Normal wired LAN baseline. The figure stays hidden. | None. |
| 6-10ms | Green. Still healthy, shown as useful context. | None, unless it is rising. |
| 11-30ms | Orange. Higher than expected on the local path. | Check WiFi, HomePlug, congestion, cables and the switch port. |
| Over 30ms | Red. Abnormal for camera traffic and likely to affect video. | Treat as a local network fault. Check the cable, switch port and powerline or WiFi link first. |
- Replace the Ethernet cable and try a different switch port.
- Verify that each cable run is under 100 metres.
- Temporarily connect a WiFi or HomePlug camera directly to Ethernet. Replace the wireless or powerline link if the warnings stop.
- Check whether multiple cameras show the problem at the same time. That points to shared congestion, the switch or the TetherBox path rather than one camera.
Check the TetherBox
Go to Admin → TetherBoxes and verify:
- CPU usage - Above 90% can interrupt recording.
- Network interface - A 100Mbit link may struggle with several HD cameras.
- Storage health - Failing drives can create a recording backlog after video arrives.
Check the Camera and Its Power
| Cause | Signs | Solution |
|---|---|---|
| Overheating | Gaps during hottest part of day | Add sunshade, improve ventilation |
| Too many connections | Multiple viewers cause drops | Close other software or recorders accessing the camera directly |
| Insufficient PoE | Reboots at night when IR activates | Check PoE budget, use PoE+ switch |
| Faulty hardware | Random gaps, other cameras fine | Replace camera |
Change Camera and Stream Settings
Use the camera's API tab in TetherX where possible. For other settings, use Tunnelling to access the camera's web interface:
- Reduce resolution and bitrate: Temporarily lower the video resolution and bitrate in your camera's streaming settings. This reduces bandwidth demand and can stabilise unreliable connections. If this resolves the issue, your network needs upgrading.
- Change authentication type: In your camera's RTSP settings (typically Surveillance → RTSP → Basic), try switching between "Digest" and "Basic" authentication modes. Some cameras are more stable with one mode over the other.
- Enable NACK (intercoms only): For intercoms experiencing packet loss, navigate to Intercom → Call Feature → Others and enable NACK (Negative Acknowledgment). This helps retransmit lost packets in weak network environments.
Tip: Reducing resolution/bitrate is a diagnostic step, not a solution. If lower quality fixes the problem, upgrade your network infrastructure rather than accepting degraded video quality.
Advanced Settings
If the connection, TetherBox and camera checks are clean, go to the camera → Details tab → Advanced Settings:
- Force TCP: Forces TCP protocol instead of UDP. Adds network overhead but provides more reliable connections on networks with packet loss. Some cameras are more stable with TCP despite the performance cost.
- Disable API: Prevents the TetherBox from attempting to configure the camera via its API. Use this if you suspect the TetherBox's configuration attempts are destabilising the camera.
- Disable Defaults: Prevents the TetherBox from applying default stream settings. Try this if the camera works but becomes unstable after the TetherBox configures it.
- URL Auth: Includes credentials in the RTSP URL. Usually not required, but older Hikvision DVRs need this to prevent occasional dropouts.
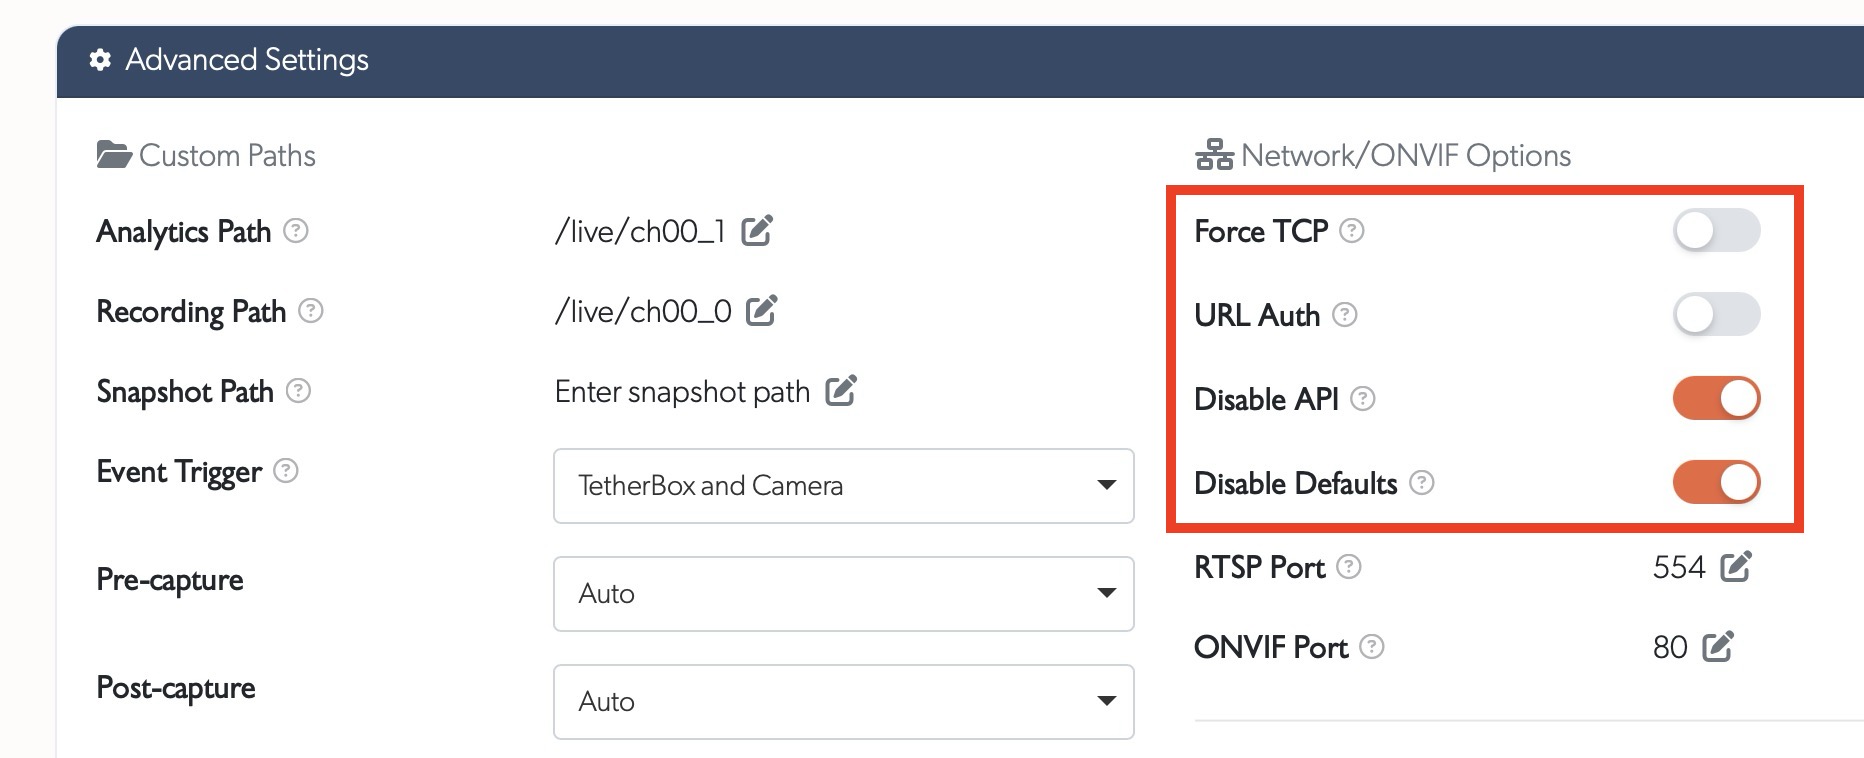
Tip: URL Auth is automatically enabled for Hikvision DVRs by TetherX - you only need to toggle this manually for other brands if experiencing connectivity issues.
Test with VLC
Test the camera stream independently using Testing with VLC:
- Connect VLC directly to your camera's RTSP stream
- Let it play for at least 15 minutes - brief tests won't reveal intermittent issues
- Watch for stuttering, freezing, or disconnections
Results:
- VLC stutters or disconnects - The camera or its local connection needs attention. Recheck firmware, cabling and PoE power.
- VLC plays perfectly - Compare the camera connection warning with the TetherBox checks above before changing stream settings.
Still Having Issues?
- Review the general Camera Troubleshooting guide
- Collect Testing with VLC results showing the issue
- Submit a support request with camera make/model, firmware version, and VLC test results
Referenced in: