

Table of Contents
TetherBox Deployment Guide
This guide is for approved integrators with a TetherX-configured Deployment TetherBox. It uses tetherx-provision to prepare a drive or install the base software on an existing Linux host. If you do not have a Deployment TetherBox, contact TetherX.
Danger: Use this process only with a TetherX-configured Deployment TetherBox and a serial assigned for that deployment. Reusing a serial causes connection conflicts and the platform disables both units.
Prepare for Deployment
Before starting, make sure you have:
- A Deployment TetherBox configured by TetherX.
- A suitable host and recording storage. See Hardware Specifications and Storage Hardware Recommendations.
- A unique TetherBox serial number assigned by TetherX for every drive or host.
- Your laptop's SSH public key enrolled on the Deployment TetherBox.
Never reuse a serial number. Two units using the same serial create connection conflicts and are disabled by the platform.
Tip: Use high-TBW SSDs or NAS-grade hard drives for recording storage. Storage Hardware Recommendations lists suitable models.
To enrol a laptop key, create an SSH key with PuTTYgen on Windows, or run this on macOS or Linux and send the output to TetherX:
cat ~/.ssh/id_rsa.pub
Connect to the Deployment TetherBox
On Windows, open PuTTY (opens in a new tab), enter the Deployment TetherBox IP address and sign in as deployer. SSH keys authenticate the connection, so no password is required.
On macOS or Linux, run:
ssh deployer@IP_ADDRESS
Replace IP_ADDRESS with the Deployment TetherBox address.
Prepare a Bootable Drive
Use this route to install a drive into a compatible TetherBox after deployment. Connect the drive to the Deployment TetherBox with the appropriate adapter.
| Drive type | Adapter |
|---|---|
| SATA | SATA-to-USB adapter |
| NVMe M.2 | NVMe-to-USB enclosure |
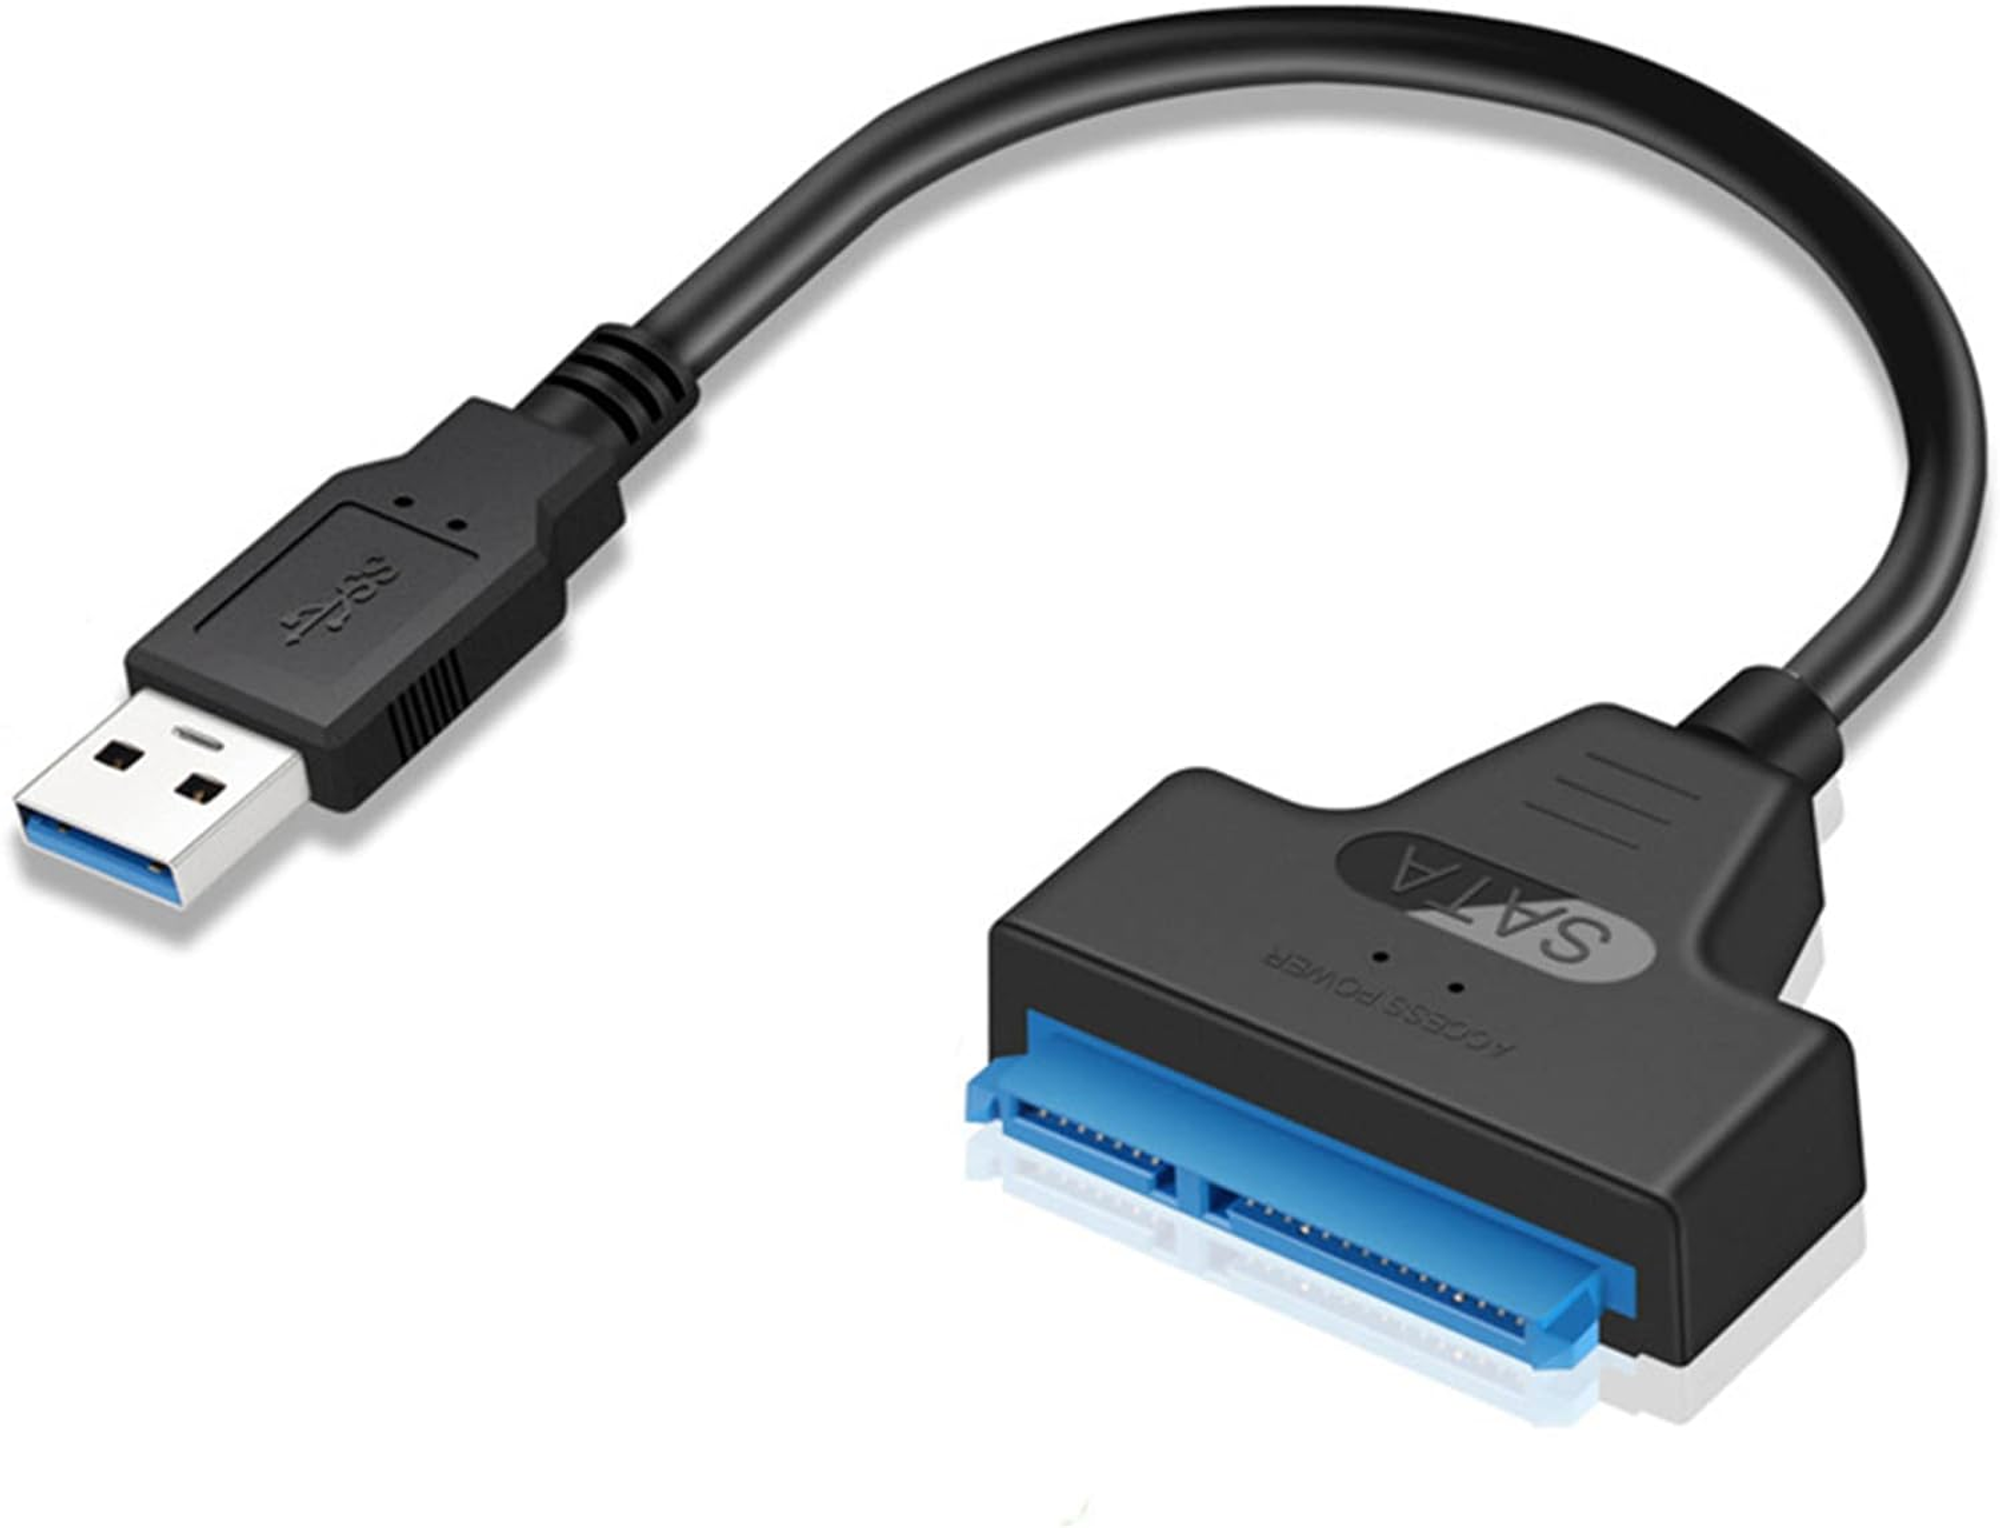
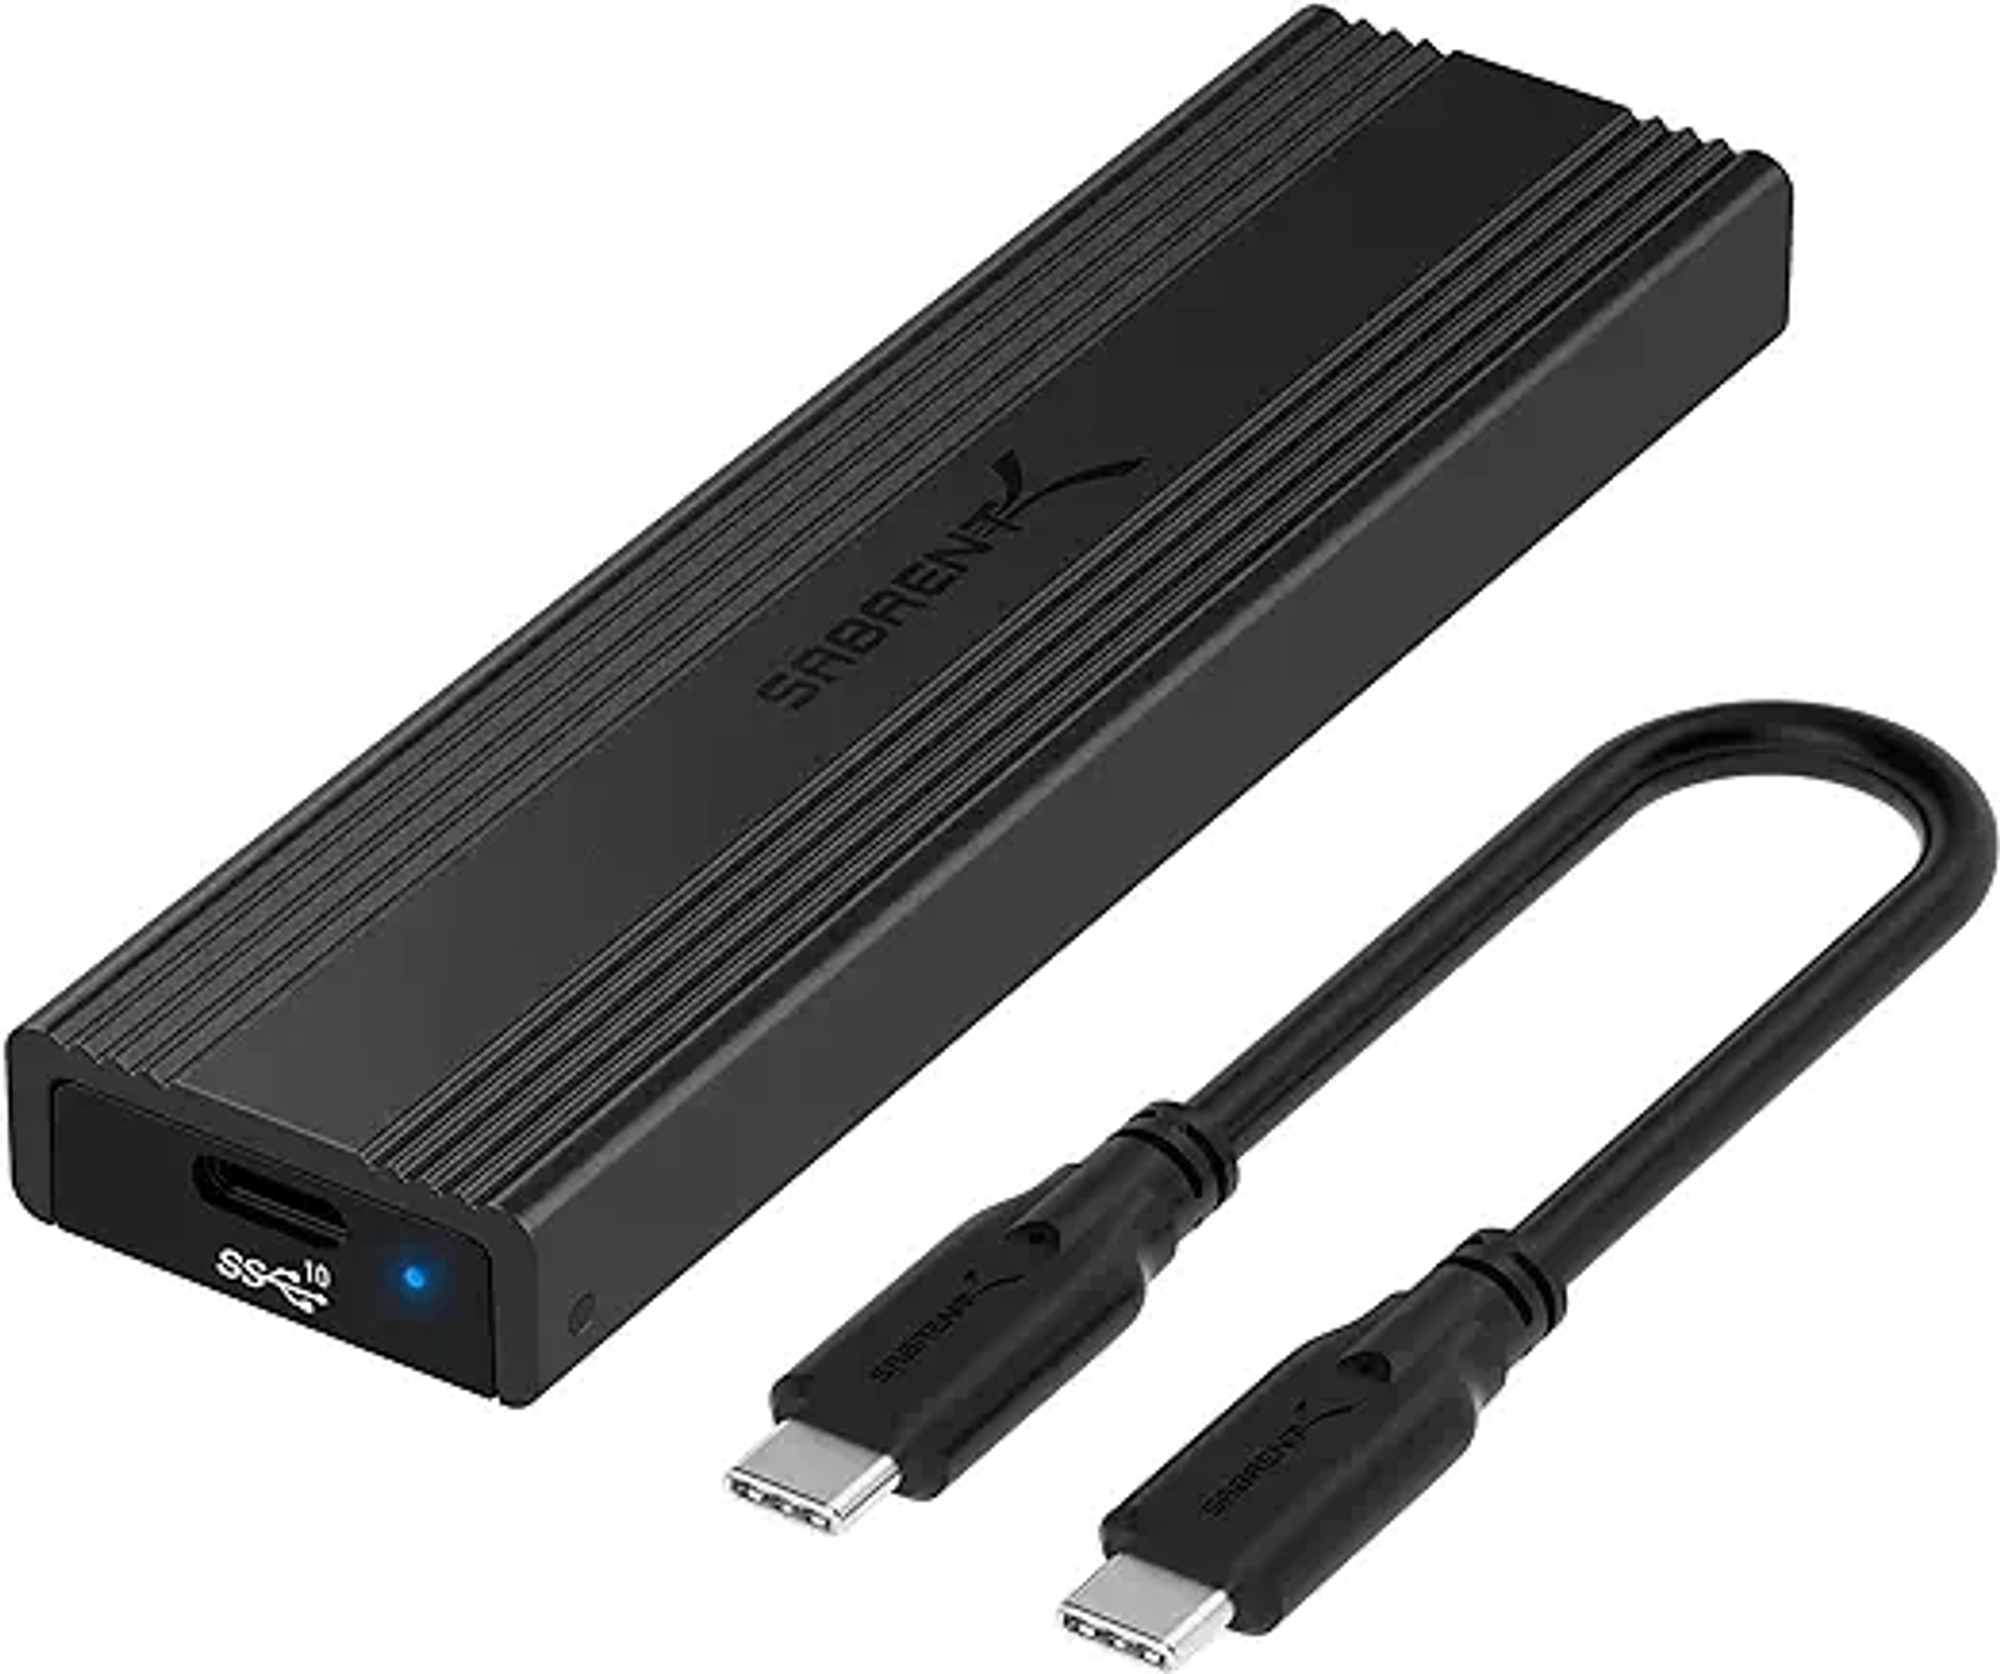
Run:
tetherx-provision --serial TETHERBOX_SERIAL --drive DRIVE
For example:
tetherx-provision --serial dfkj345dkjser2433sa --drive /dev/sdb
If the drive path is wrong, the command lists the drives it can use. Check the listed device carefully before continuing.
Warning: The deployment command overwrites the selected drive. Confirm the device path before running it.
Deploy to an Existing Linux Host
Use this route when the host is already running a supported Linux installation. For operating-system preparation and partitioning, see Build a TetherBox on Your Own Hardware.
tetherx-provision -d DOMAIN --serial TETHERBOX_SERIAL --ip IP --port PORT --user USERNAME --password PASSWORD base,vpn
The first deployment uses the temporary account you prepared on the host. It creates a deployer account and SSH key for future deployments. The base,vpn deployment connects the host to TetherX, which then completes the software installation.
Command Reference
| Option | Use |
|---|---|
-d, --domain |
Set the cloud domain. Defaults to timeline.is. |
-i, --ip, --host |
Set the existing host address. |
-s, --serial |
Set the unique TetherBox serial number. |
--port |
Set an SSH port other than 22. |
-u, --user |
Set the first-time host username. |
-p, --pass |
Set the first-time host password. |
--drive |
Prepare a bootable drive. |
Run tetherx-provision --help for the full command list.
After Deployment
Once connected, TetherX manages software updates. Security updates are deployed promptly; other updates are released on a rolling basis as units connect. Contact TetherX if a site requires a specific update.
Related Articles
- Build a TetherBox on Your Own Hardware - prepare a custom x86 or Raspberry Pi host
- Hardware Specifications - size a TetherBox for the site
- Storage Hardware Recommendations - select reliable recording storage
- Pre-Flight Checklist - prepare a site before installation
- Replacing a TetherBox Drive - replace a deployed drive
Referenced in: